
Tips and Tricks for Bringing Home Baby Chicks
This is our second year bringing home baby chicks, and while I’m no expert, I have learned a few things along the way. I had thought I had done a decent amount of research last year when I went to buy chicks, but honestly I got a little swept up in the excitement of bringing them home and made a few errors. I’ll share those mistakes in hopes of preventing anyone else from making them as well.

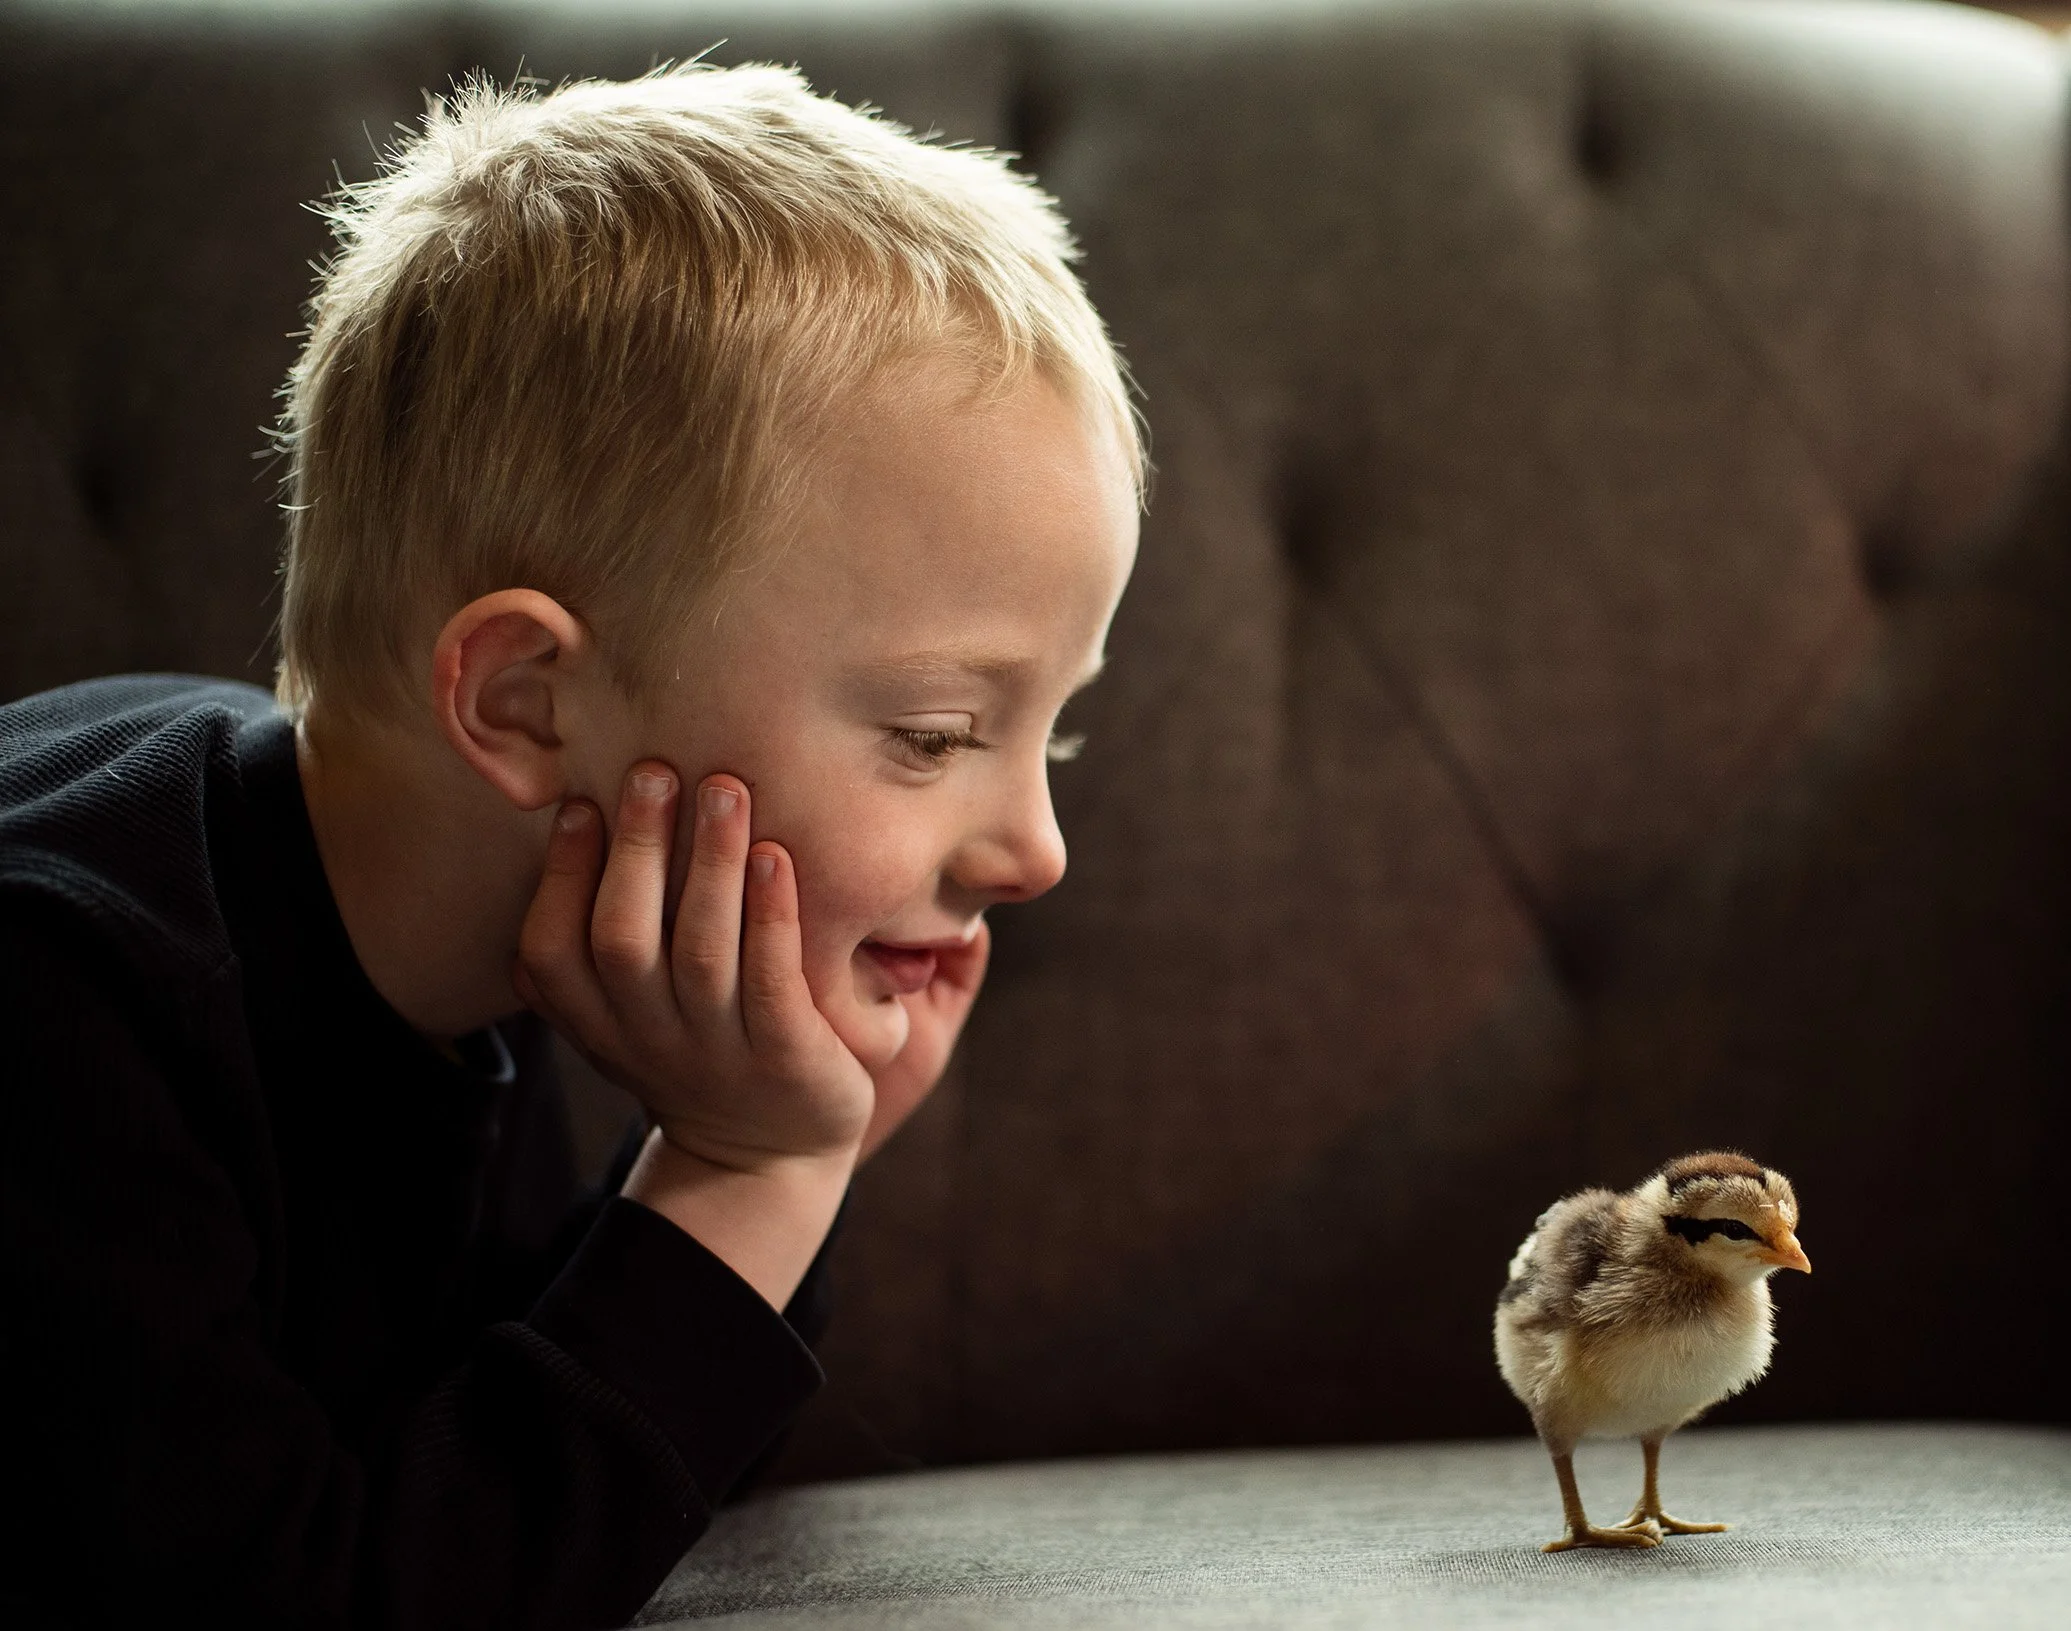
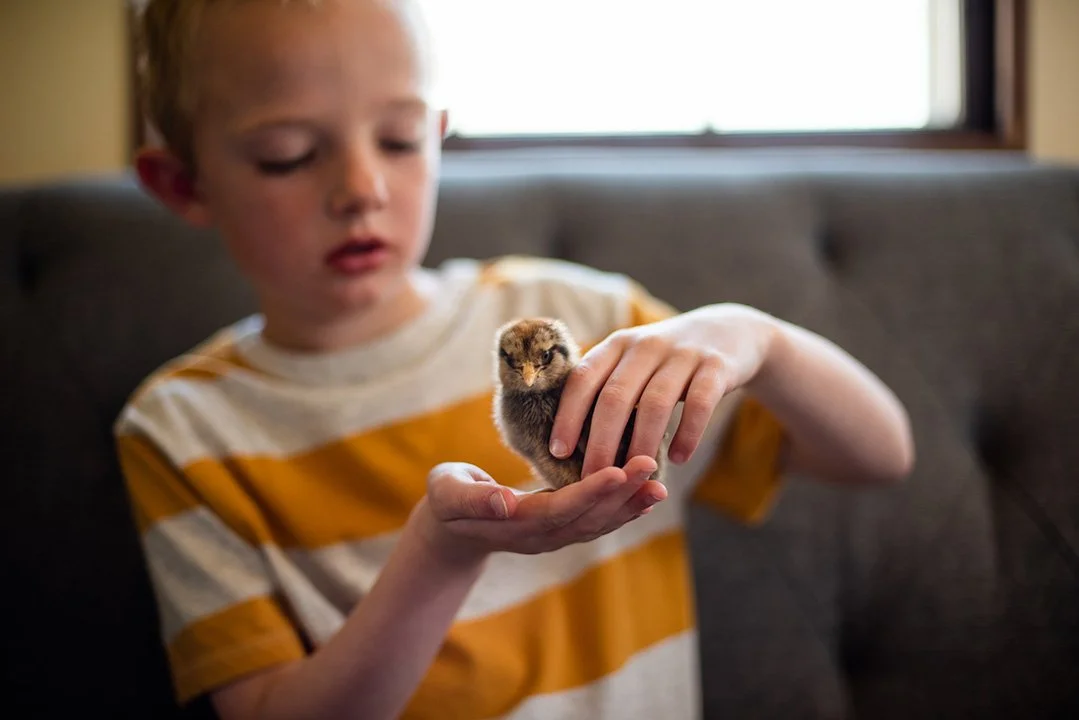
Bird boys checking out their new chicks in the brooder.
Ryder and Ducky the Chick
First prepare for the arrival of your chicks. You will need a brooder, (essentially their home) heat source, food, water, and bedding to line the brooder with. I have seen plastic totes used for a brooder which would be an inexpensive option, but we use a metal stock tank. I like the durability of the tank as well as the size.
Next, let’s talk about a heat source. A livestock heat lamp is most commonly used is. These are those red lights that you will see at feed stores and likely used where you buy chicks. The benefits are that they are not expensive, and easy to use. They do come with some major cons and that is that they can be a fire risk. They also pull a decent amount of electricity since they usually need to be on day and night which is another drawback. We used the heat lamp last year with zero issues. I am a worrier so for me the worry about a fire was a major con especially since we keep the chicks in our front porch. My advice if you are using the heat lamp is to secure that sucker as best you can. I went through a lot of duct tape, and had it set-up to hang and be clipped in case one of those methods failed. I also had hardware cloth (like chicken wire but thicker) between the chicks and light so if it did happen to break free of my duct tape, it would catch on the wire and not land in with the chicks and their bedding which is what can catch fire. (they also have metal safety bars over the light so make sure those are installed as they would help keep the bulb from landing directly on the bedding) Also keep the area around the light free of anything cloth or flammable. If you use this method just be cautious and check your set-up often. This year, we went with the Brinsea Eco Glow which is a warm plate that provides radiant heat. It mimics the way a mother hen would keep chicks warm, and pulls less electricity and seems to be safer. I have preferred this mainly to ease my fire worry, but it doesn’t work as well in a cold room and when our porch is cold, which it can be in the Spring, we have had to supplement heat with the heat lamp which is the main con.
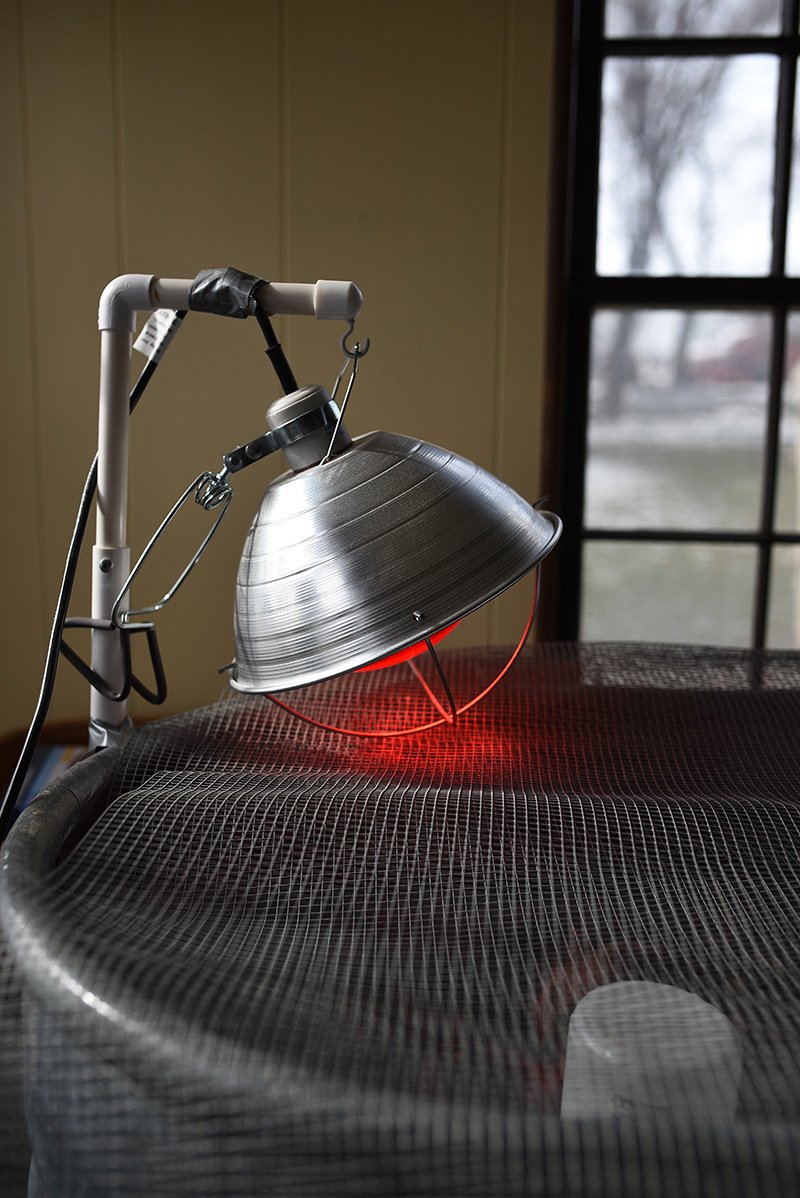
Heat lamp secured multiple ways and positioned above the wire cloth
Chicks and their Brinsea warm plate
You will also need to feed those babies. You can buy feed specific for baby chicks at any feed store and likely at the same store you buy your chicks. We don’t feed our chicks anything else for the first few weeks, but then you can start adding in treats. You will also want to get a feeder for the food and a waterer or two to rotate as keeping a clean waterer will keep your chicks healthier.
Now it’s time to actually buy your chicks. (Feed stores and Ag stores like Murdochs sell chicks every spring.) Familiarize yourself with the terminology and breeds as best you can. If you are buying chicks to someday have eggs, then you need to try to buy pullets. (female chicks) You may encounter the straight run label which means that the chicks were not sexed and therefore you have a 50/50 chance of getting females. I made this mistake last year and didn’t realize that you could try to buy all pullets. (to be fair it was a tough year for getting chicks last year with covid and shipping so finding sexed chickens was trickier) Now sexing chicks is not foolproof and you still run the risk of getting cockerels, (males) but you are far less likely to if you buy your chicks from the pullet bins. We did end up with about half roosters, but that’s a post for another day. You can also order chicks to be shipped, but I do not have experience with this.
You will also want to look into which breeds you may want. Last year, I let my son pick out a lot of the chicks and paid little attention to the breed. I did want a few Rhode Island Reds as they are said to be excellent layers and cold weather hardy, but those were all spoken for that day. (people call in and buy ahead to reserve popular breeds) I could have waited a few days for more chicks to come in, but I had an eager 5 year old with me, and so we just picked ones we thought were cute. Obviously this is not the best strategy, but worked just fine for us newbies. I was much pickier this year as I really have my heart set on some blue or green eggs so I snatched up some Araucanas!
Your chicks will come home with you in a cardboard box, and you will want to get them in their brooder and warm as quick as you can. We personally don’t handle the chicks too often in that first week. My boys are still young, and I’d hate for them to accidentally hurt one so they are only allowed to hold them when I am there to help, and we don’t keep them out of the brooder for long as they need to be kept warm. We spend more time handling them as they get older and aren’t quite as fragile. There are guidelines to follow as far as heating your brooder goes, but you can usually tell if your chicks are cold as they will stay huddled together even during the day. If they avoid the heat, it might be too warm and you will want to raise the light up or move the warm plate higher. Once they are home and settled it’s time to name them! (Some would argue that this is silly..to each their own) This is really fun for kids, and it’s cute to see what they come up with! We’ve had a Ducky, Cookie, Dolly, Belle, Polly among others!
One more thing to note, is that you need to check your chicks for pasty butt often. Oftentimes their vent (chicken butthole - sorry there is no other way to define it or maybe there is but there isn’t for me) gets covered in poop. Once that poop hardens it can cause a pluggage so you will have to clean the poop away to ensure your chick can continue pooping the day away. I just use warm water in a bowl, dunk their butts to loosen the poop, then wipe it away with a clean, damp paper towel. It’s easy enough but an important task in chick care-taking.

Ginger and Kaden
Paxson and Tulip
There you have it…Now it’s time to start planning for your coop if you don’t already have one! Your chicks will be ready to move to a coop around 6 weeks of age, but that depends on if your chicks are feathered out and how warm it is outside. I bought my chicks too early last year, (well too early for Montana) and had to keep them in the porch in a brooder until about 8 weeks because our nights were still cold. I waited a few extra weeks this year to get chicks so that I could hopefully move them out sooner. We did graduate them to a larger stock tank because once they get about a month old, they get wild and messy so the extra space was needed. Good luck and feel free to ask me any questions you might have in the comments!
Ryder and Canyon

Bird Boys
*affiliate links used in this post

Kaden and Polly