Easy Chicken Coop DIY
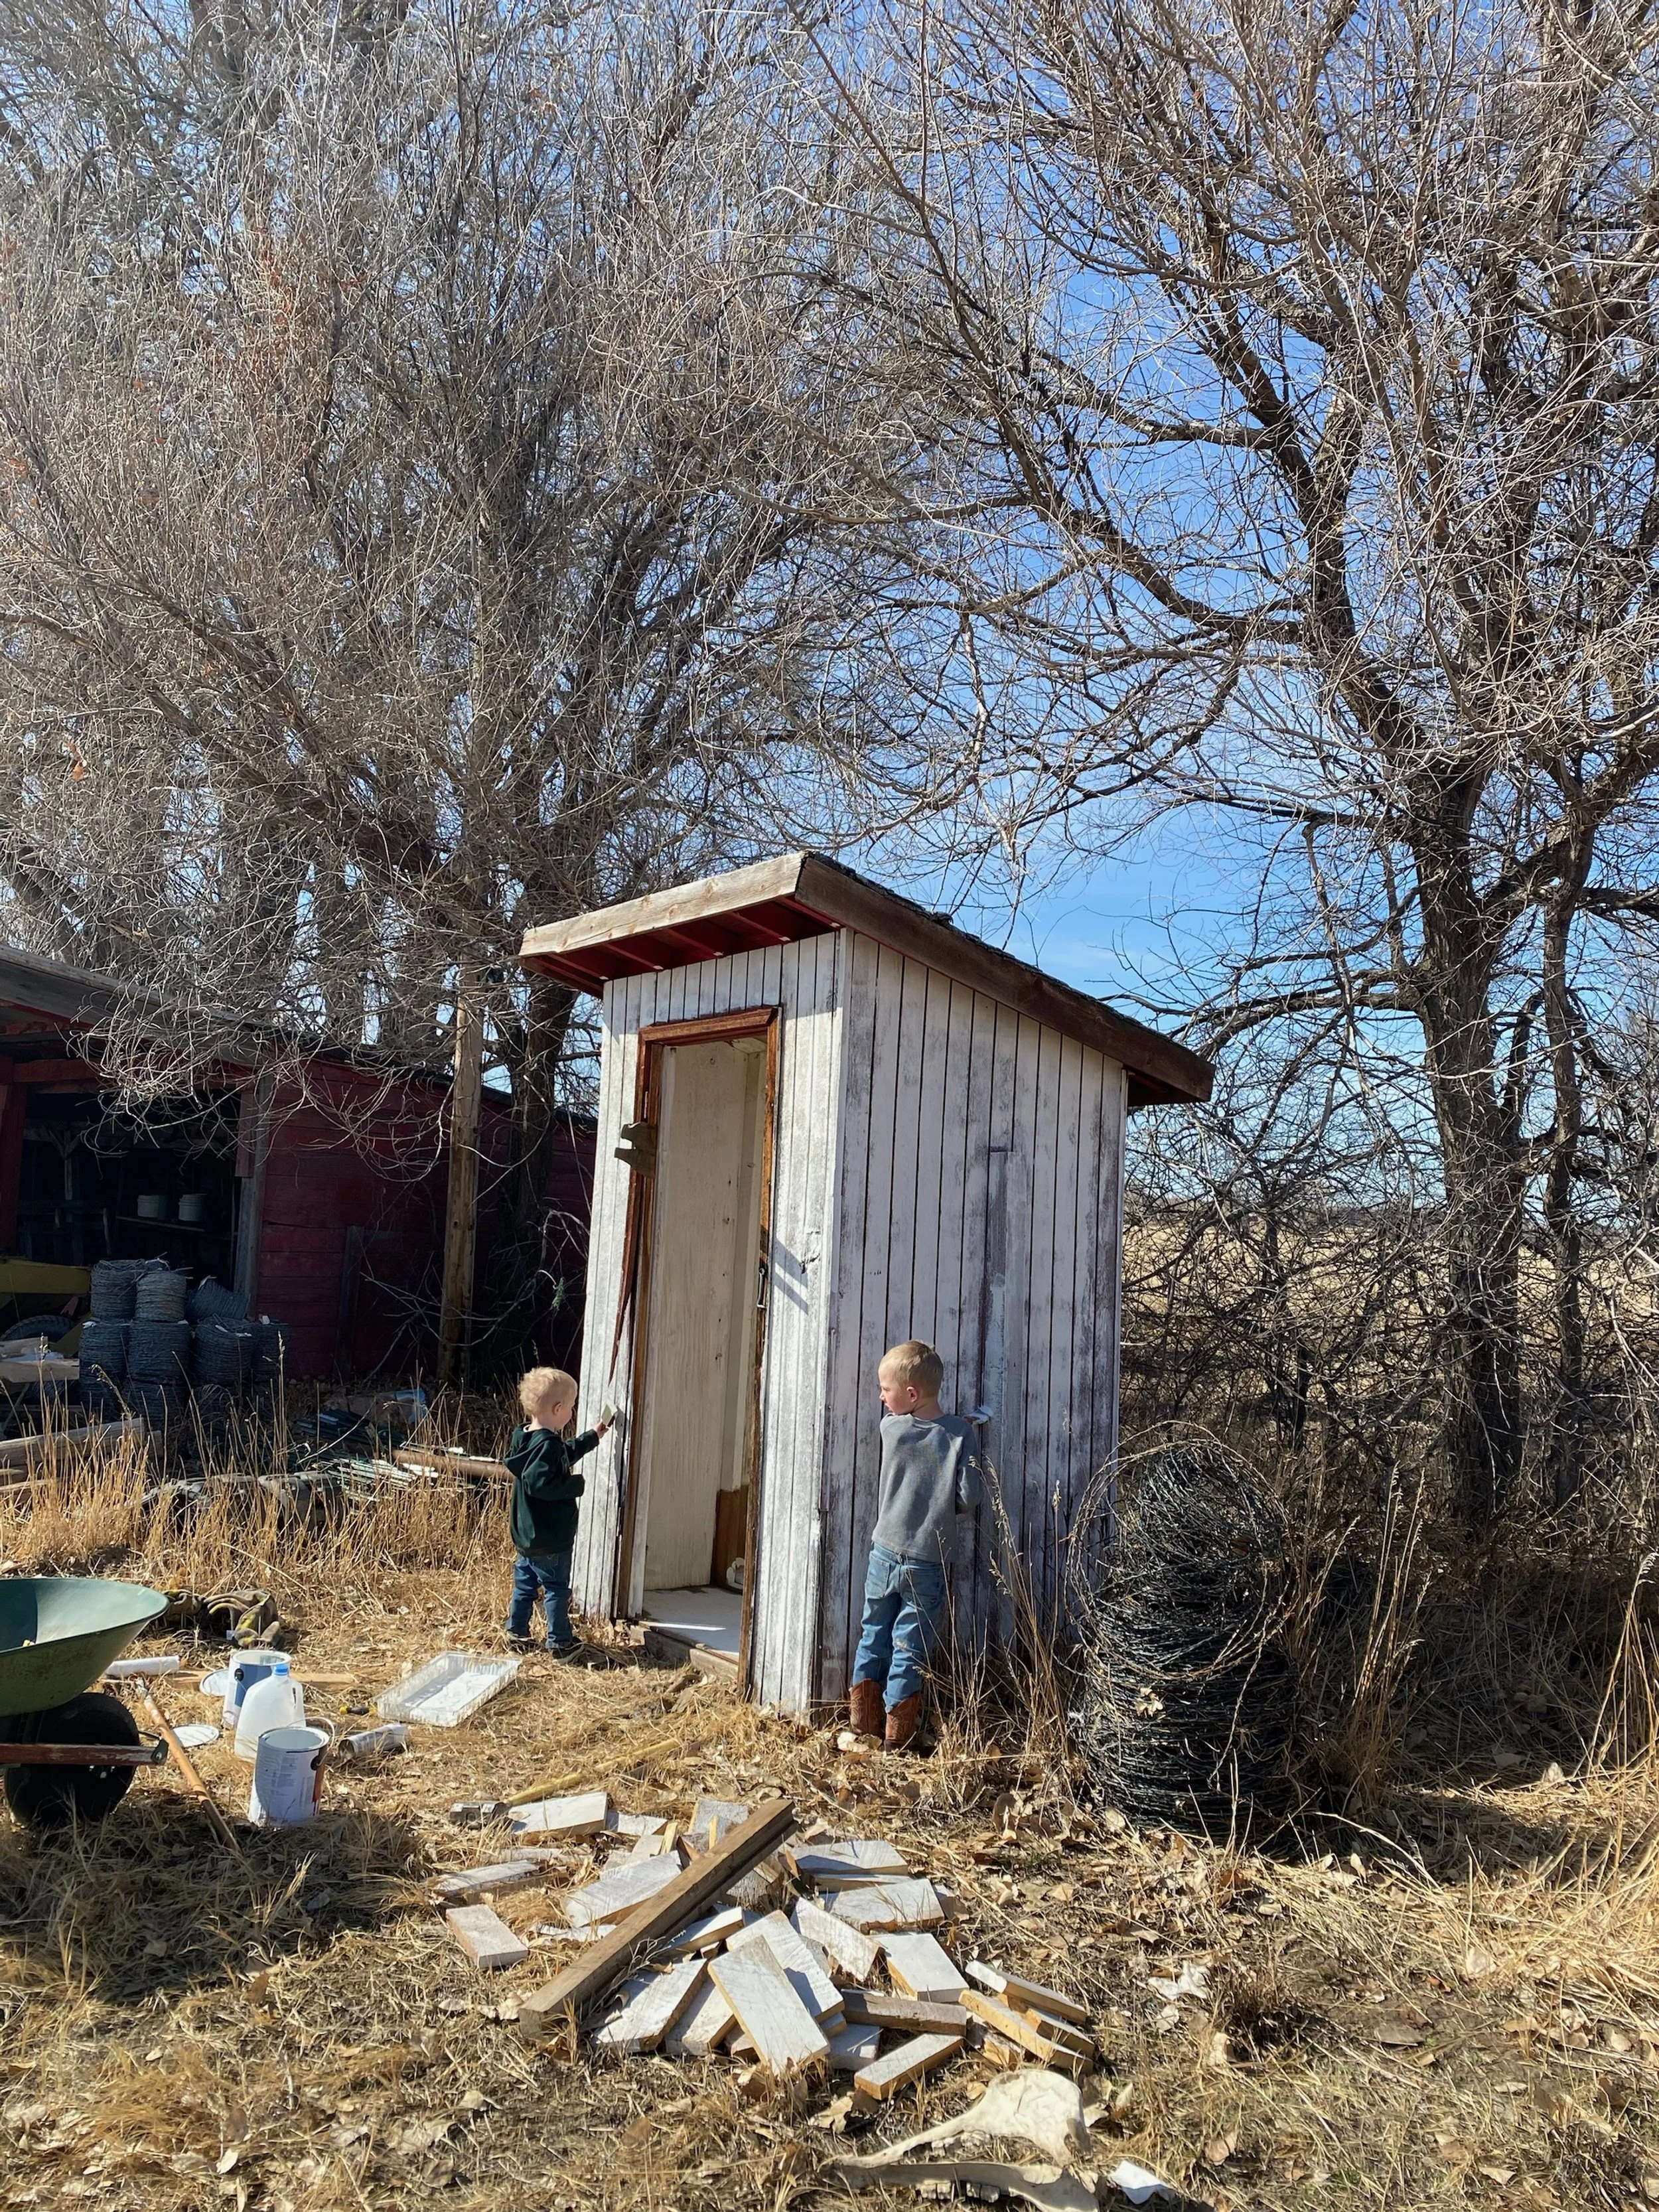
If you follow me on Instagram odds are that you’ve seen my chicken coop transformation from an outhouse to what it is today. When I first set-out to bring my chicken coop vision to life, I sort of just dove in which is generally how I do things. We had an abandoned outhouse on the farm that I thought would be a decent size and easy enough to transform. Plus, I was trying really hard not to spend a lot of money on the coop since I wasn’t even sure I’d be able to keep them alive or would enjoy keeping chickens!
First, that nasty thing needed gutted! Since the outhouse was on the farm long before we were, it was kind of a gross job, but once I got the toilet area out, filled the poop hole in with dirt, and added a floor it wasn’t too bad. I knew I wanted it to be white after pinning just about every white chicken coop on pinterest so painting was next up. I did not anticipate that old worn wood to require so much paint, but it really sucked up a lot of paint and took way more time than I had planned. I also needlessly painted the inside because well…it had been an outhouse and I wanted the coop to have a fresh start. I salvaged a door from the farm that my husband trimmed down to make work. I had intended to paint it black, but once I started chipping the old paint off, and sanding it, I decided to leave it looking shabby chic. I painted the trim black to add some contrast, and added some hinged doors on the side to access the nesting boxes. To be honest we don’t use them often, so I could have skipped this step.
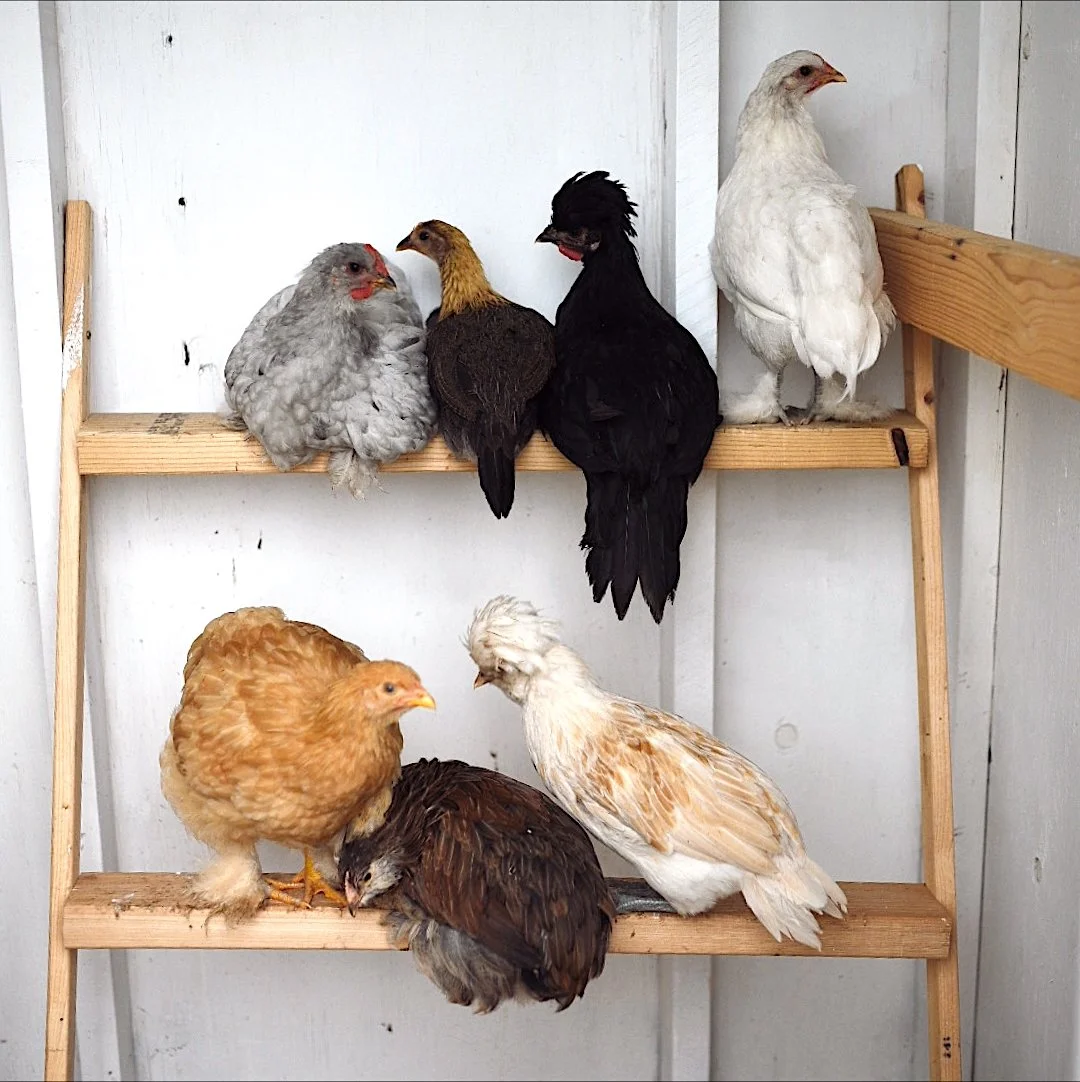
I built a simple roost for the girls using 2x4s and added some inexpensive plastic bins from target for them to nest in. These will likely be replaced at some point, but they’ve served their purpose and the hens get good use out of them. From there we just had to add the bedding. I use a mix of straw and pine shavings
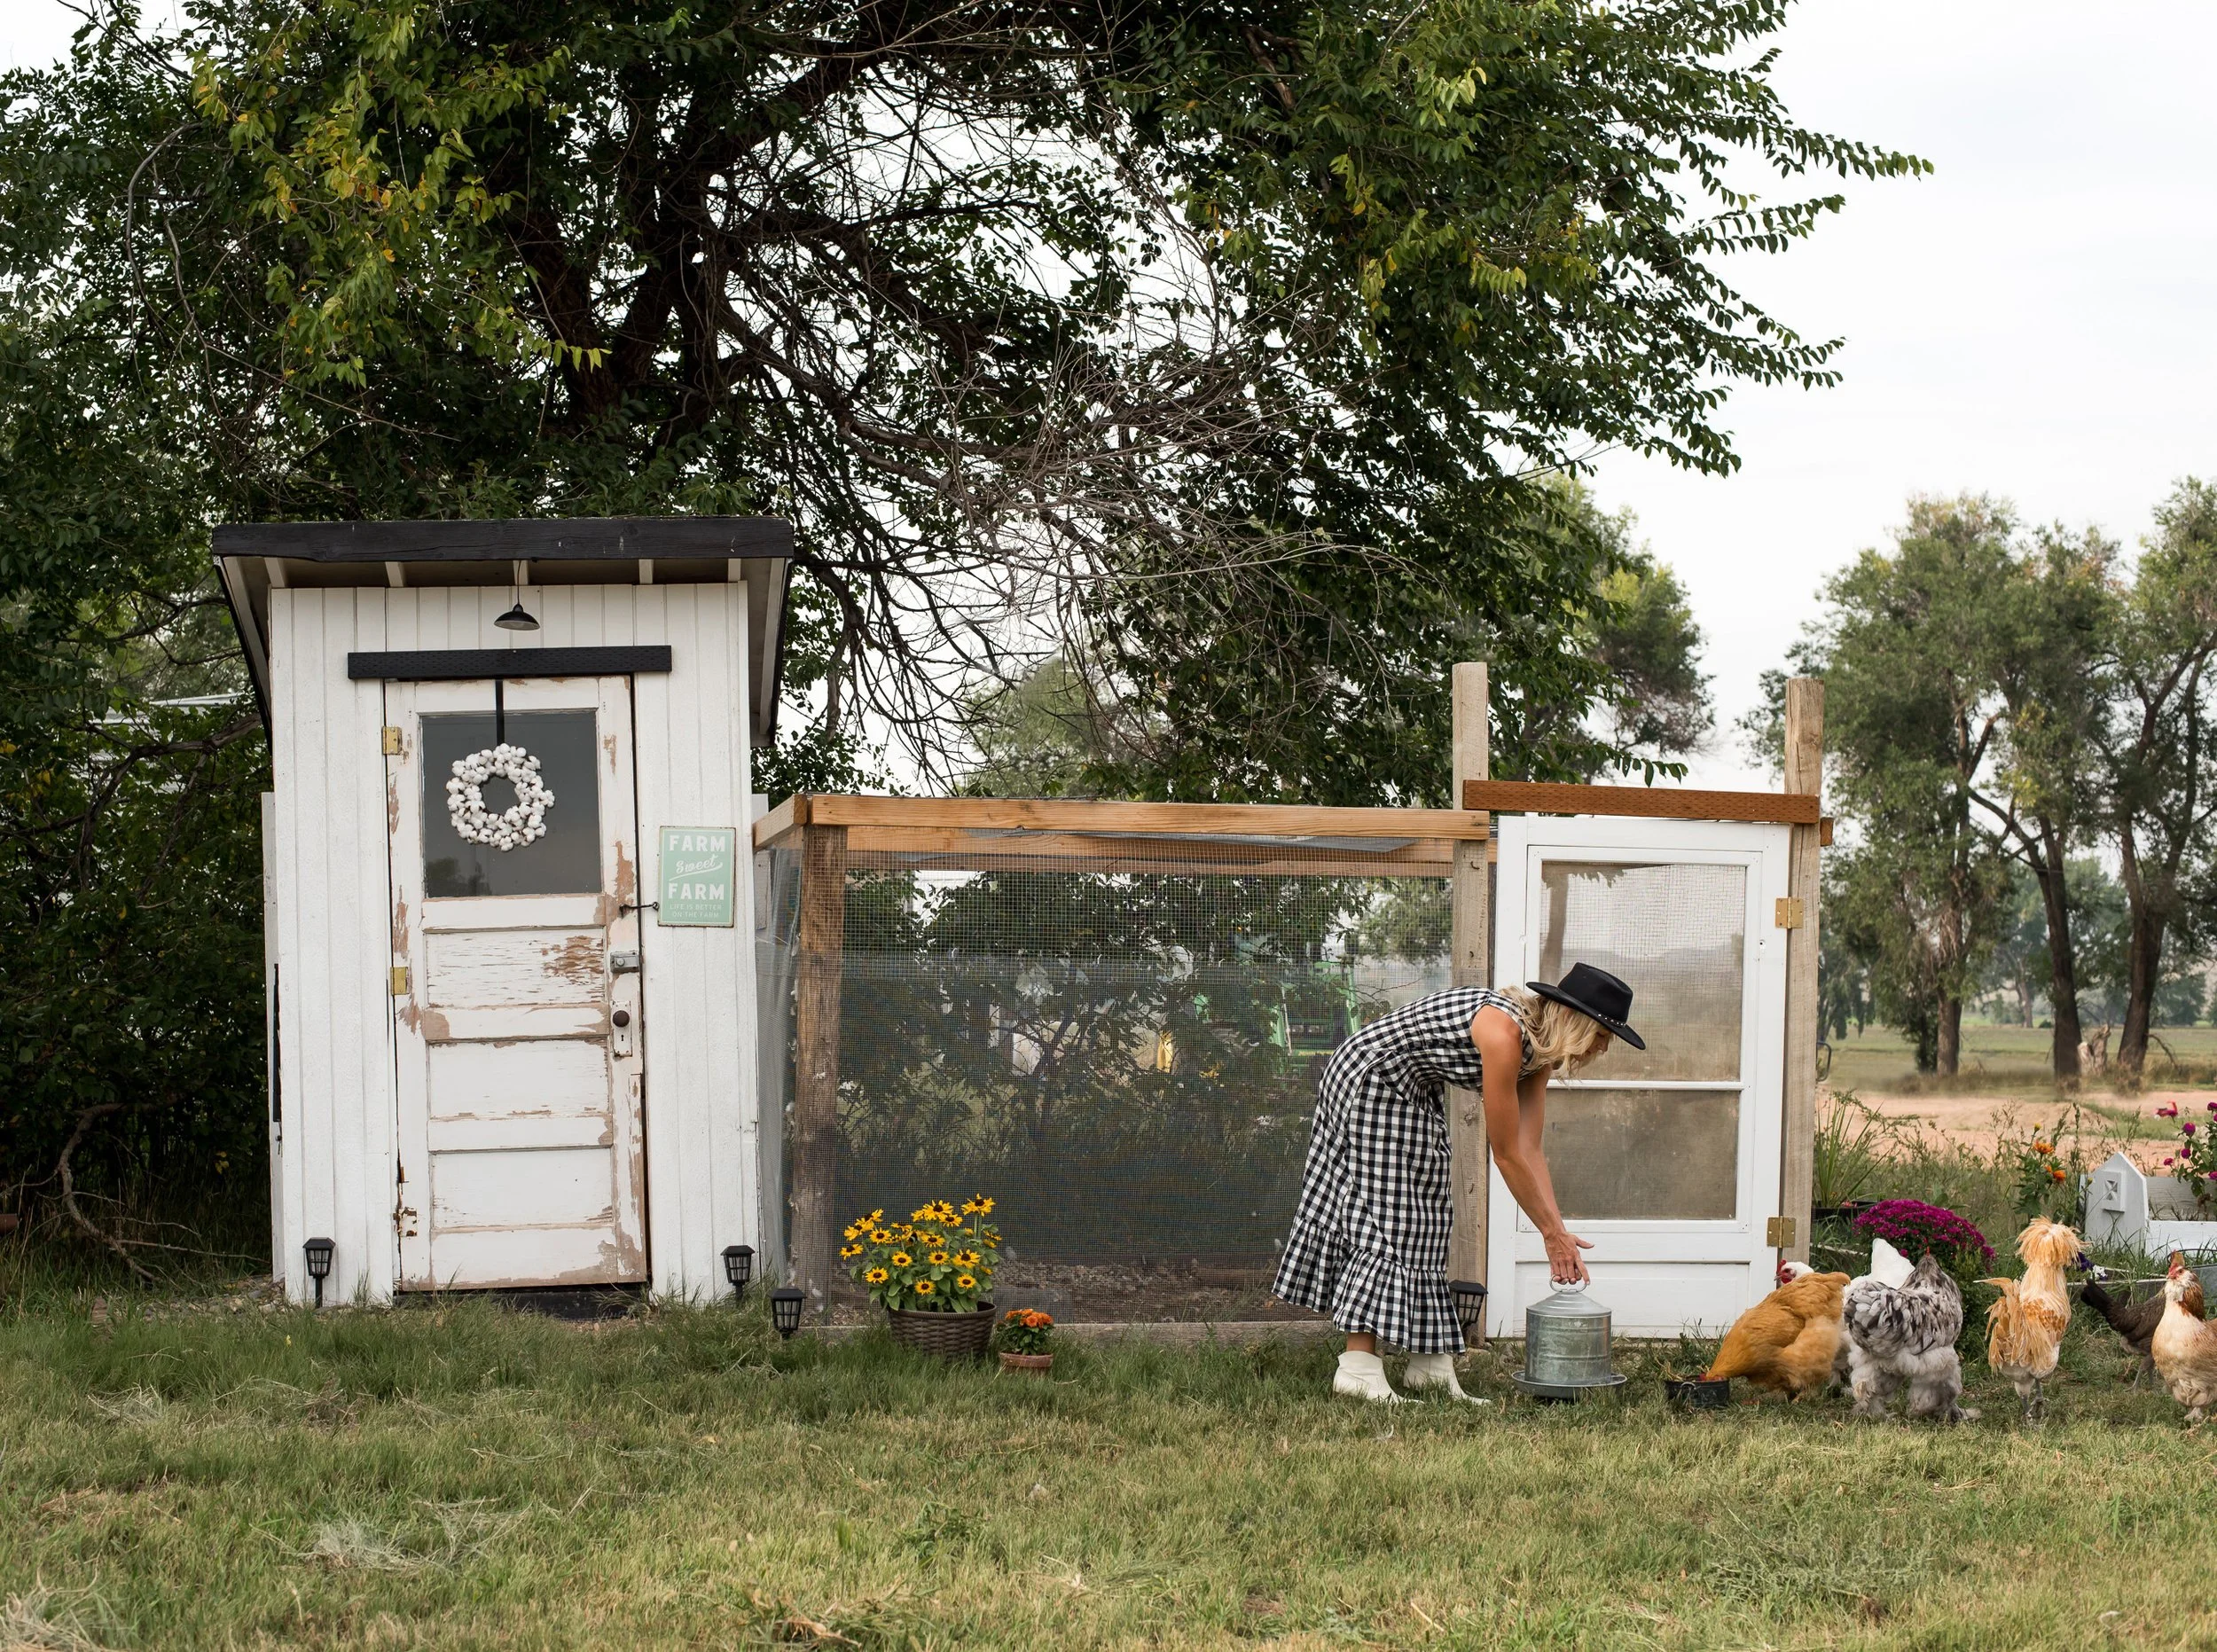
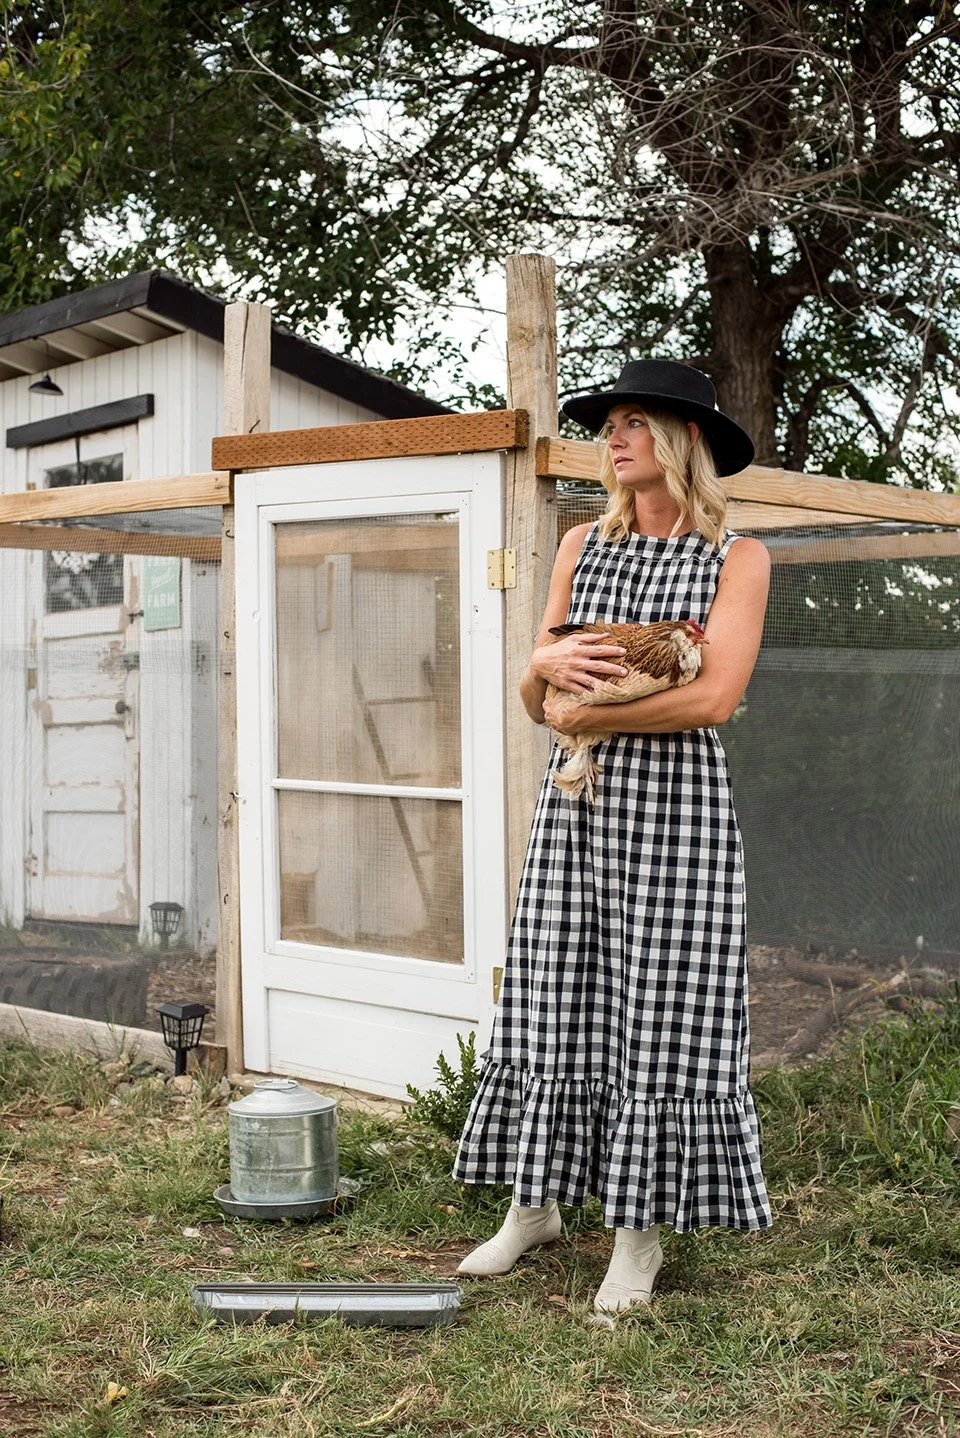
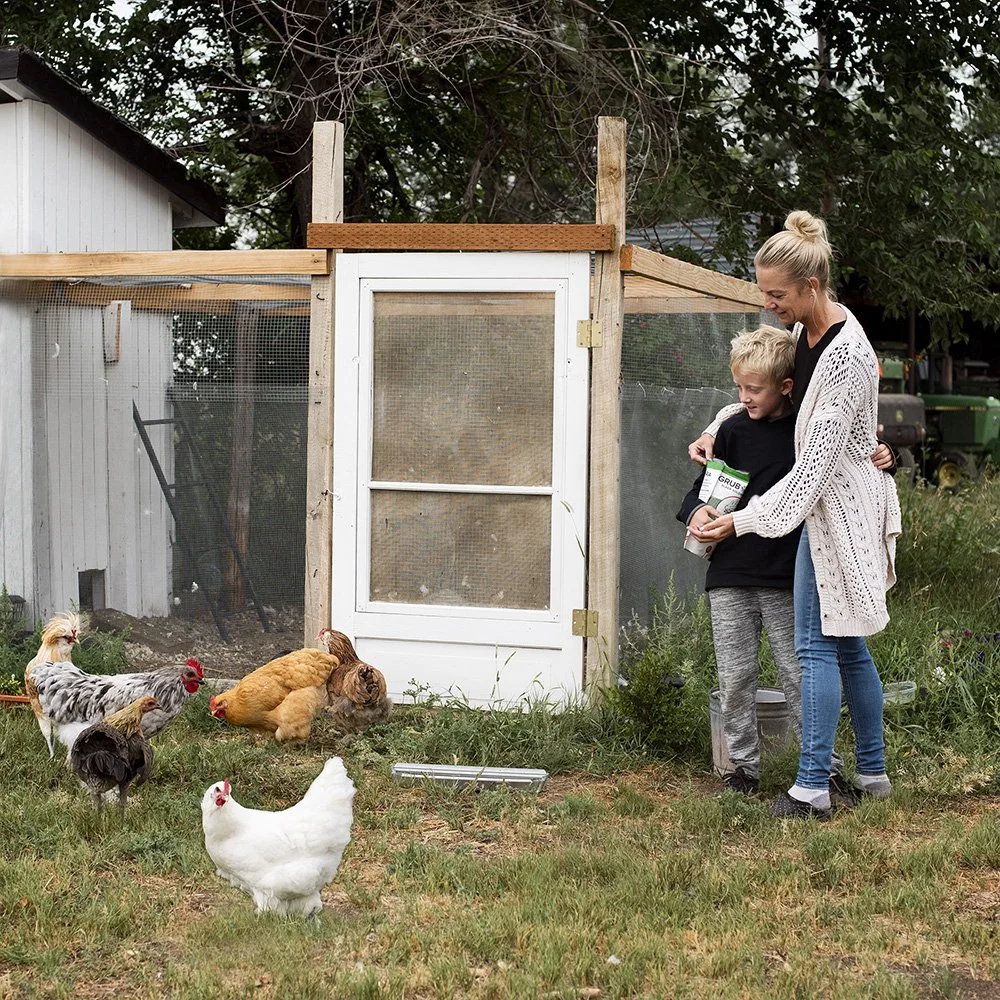
Once the coop was done, I moved on to the run. I had a decent amount of space dedicated to their outdoor area which was important to me as I knew this is where the chickens would spend the majority of their time. I eyeballed where to put the posts which turned out to be a mistake. (measure these out) I just wanted a rectangle off the coop so I didn’t think it needed to be exact, but it would have made attaching the wire cloth much easier had it been measured and everything straight. Once again, I salvaged the old wood fence posts from the farm and used old barn wood along the base of the run. I did dig these boards into the ground a bit to help keep predators out. I also ran some of the wire mesh underground like a blanket to further deter predators if they try to dig in. (I did this around the coop as well and attached it to the coop then covered it with rocks) I went with wired mesh cloth verses chicken wire because it was thicker. The height of the run ended up being about 5 feet which works well . We added wood to the top of the run as well so that I could run the wire cloth on the top as well. My husband helped with this, and I have a mix of the wire mesh as well as hog panels up there. I also added some tin on one side this past fall to help keep the run a bit more dry and offer some more shade in the summer months. The run door was an old screen door that Kevin cut down so that it would fit and I of course painted it white. I attached wire cloth to the backside since the screen had some damage.
Considering paint was my main expense, the coop ended up not costing us much at all. Unfortunately it is a bit drafty which I spent a good portion of the winter fighting. I will have to make some adjustments this summer so that it stays warmer next winter. It also would benefit from some roofing repairs. I have plans to make the run area a bit larger so that the chickens get more shade in the summer. We have some nice trees behind the coop but we were doing ditch repair last spring when it was being built, and I didn’t want the run to be too close to the ditch. Chickens really don’t need much in terms of shelter and the ole’ outhouse did the trick for what I was after! Feel free to ask me any questions in the comments, and I will do my best to answer them!


