Green Chile, Chicken Enchiladas
Let me start this post by clearly stating, I am not a food blogger nor will I ever be, BUT if I have a crowd pleasing recipe that is easy to make, then I will always share it! I have been making these enchiladas for years, and they are my go-to for branding. Now beef is always the main course, but when there are hungry cowboys to feed, there better be plenty of food! No one does a branding meal like my Mother-in-law. I’m just happy to have one dish in my arsenal that makes the cut and these enchiladas are it!
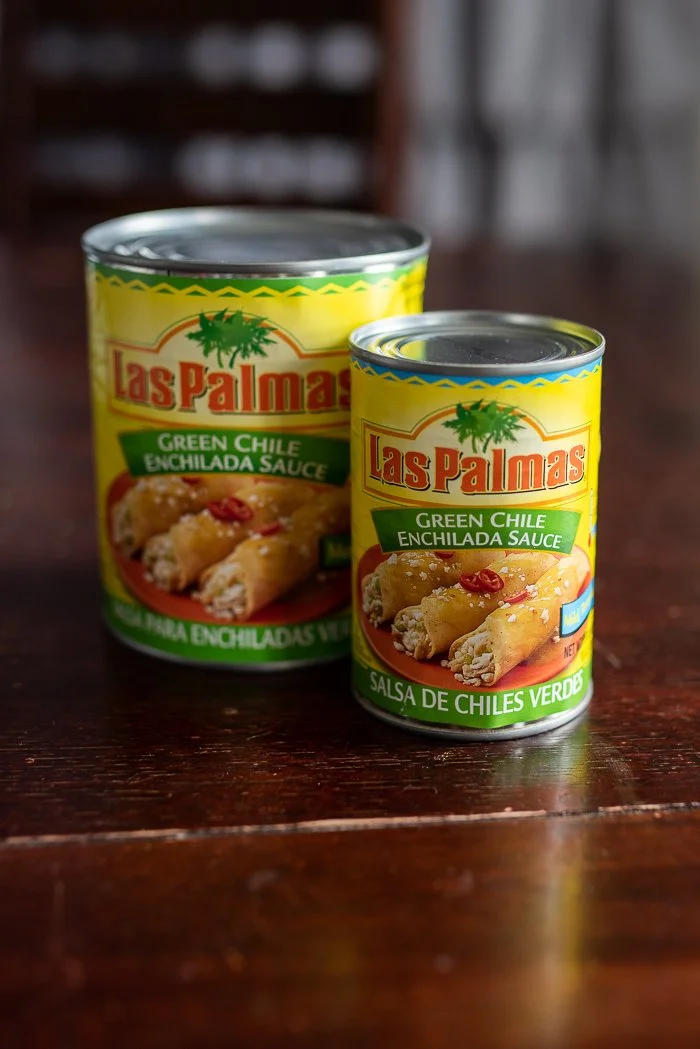
The key to good enchiladas is the sauce, shredded chicken, and cheese. (duh) I prefer green sauce to red when it comes to enchiladas and Las Palmas is the best in my opinion. Don’t even bother with Old El Paso-it does not make the cut. You will also need green chiles, flour tortillas, sour cream, chicken breasts, and cheddar cheese. I always cook my chicken in a crock-pot. It is easy, you can do it ahead of time, and it makes for the best shredded chicken. You will want 3-5 chicken breasts depending on how many enchiladas you plan to make. I generally make more than one pan at a time because these freeze really well. I just keep rolling enchiladas until the chicken is gone and five breasts will guarantee two 13x9 pans. Plus there is nothing better than pulling a ready to bake pan of enchiladas out of the freezer on days when you will be short on time. (just pull them out a few hours before you cook them to thaw so they don’t take an hour to bake)
My favorite green sauce. I like medium, but the mild is good too.
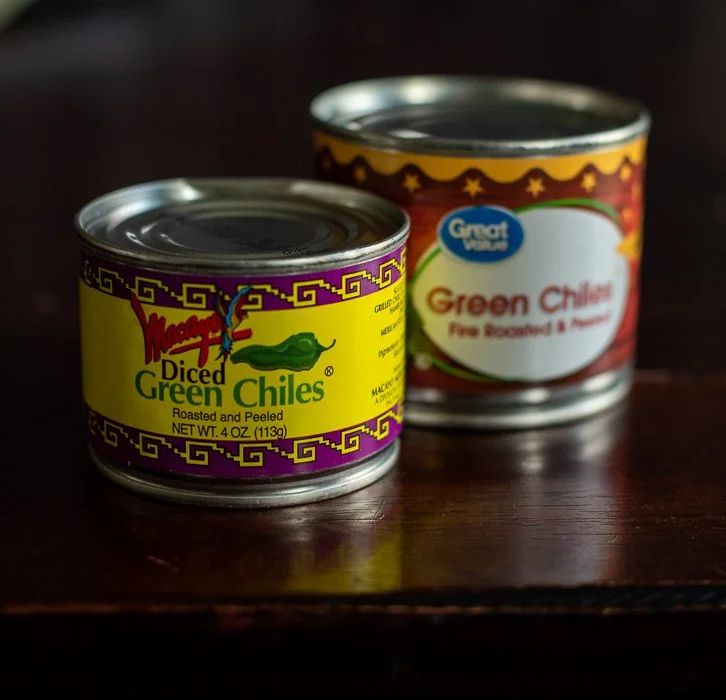
I use whatever kind of green chiles I can find at the store.
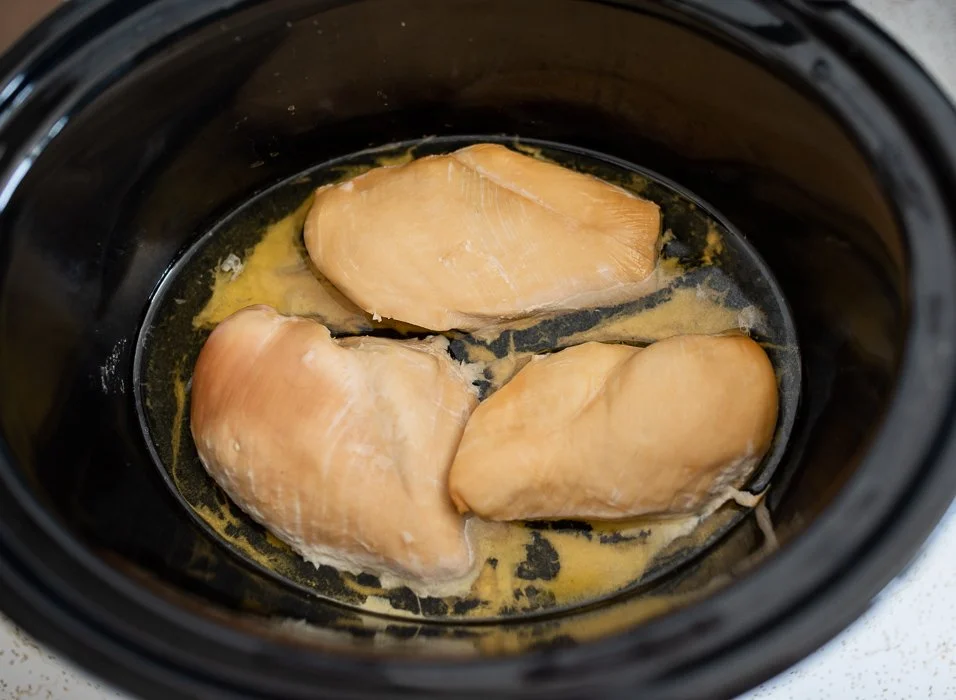
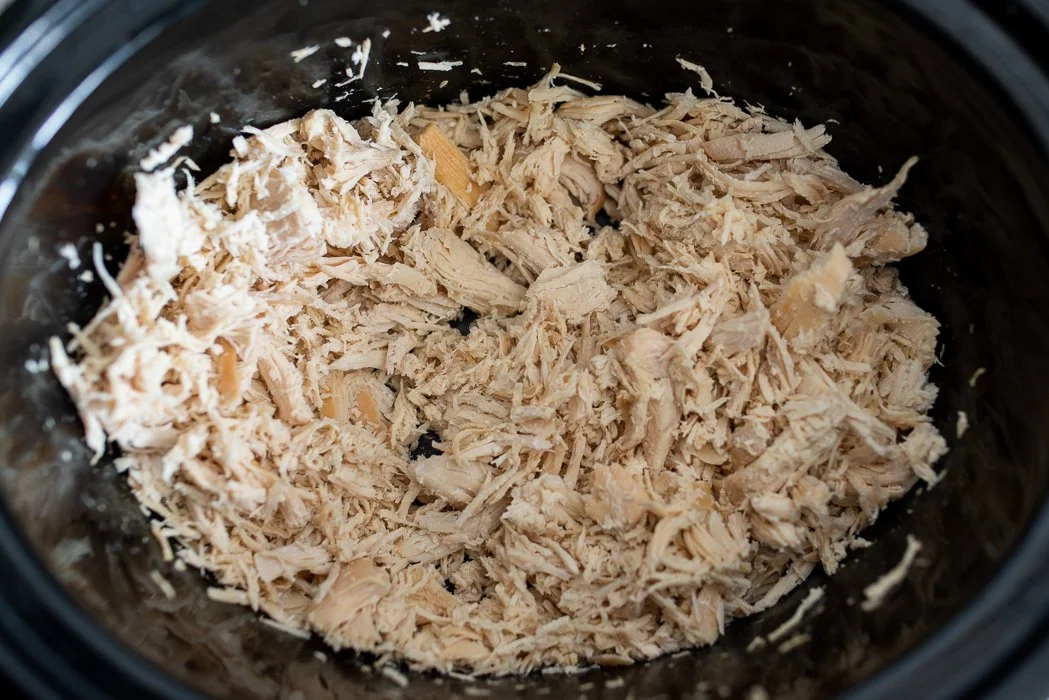
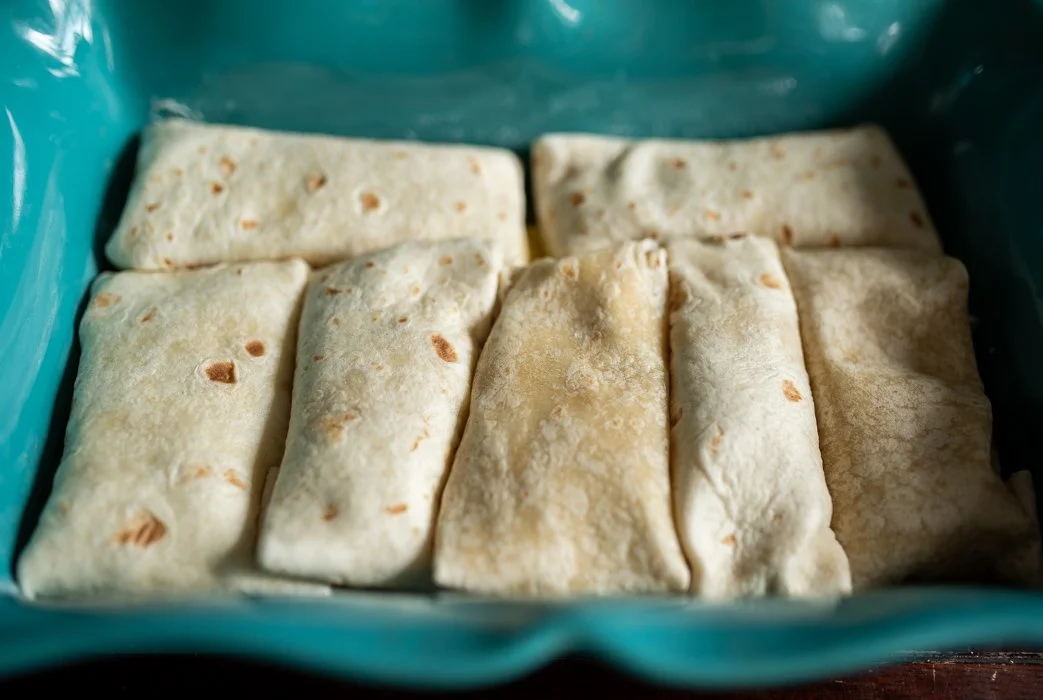
Once your chicken is done, you will want to drain off some of the water from the crock-pot before you shred it. This just ensures that you don’t end up with mushy chicken. Next go ahead and shred that chicken and add some sauce. (I add anywhere from a half cup to full cup but it is all about personal preference). I also add a hefty dollop of sour cream, the green chiles and mix it all together. I then grease my pans with butter (you can use whatever you’d like to grease the pan, but it helps so the shells don’t stick) I also coat the bottom with some sauce, just enough to line the pan. Then you can start rolling your enchiladas. I prefer the roll and tuck method, but you could just roll. My goal is always to cram as many enchiladas as possible in a pan, so tucking the ends of the tortilla in gives me more room. (so many technical terms in this post…you’d think I actually knew what I was doing)
Drain the liquid off to keep your chicken from being mushy
Shredded chicken
After you have a full pan you will add more sauce and then top with cheese-Do NOT be stingy with the cheese. Now this is important, (almost as important as the cheese) I do not recommend adding the sauce on top if you plan to keep these in the fridge overnight and cook the next day. The shells will absorb the sauce overnight and while they are still good, they are better if you sauce them right before you bake them. (if you refrigerate them, just leave the sauce off until you plan to cook them) If you plan to freeze a pan, then you can add the sauce as it all freezes and doesn’t really make a difference. These go in the oven for 30 minutes at 350 degrees. I always finish by broiling them for a couple minutes to crisp the edges just make sure not to overdo it on broil. I recommend letting a frozen pan thaw before baking otherwise, the middle takes a bit longer to cook.
I tuck the ends under to make room for as many as possible.
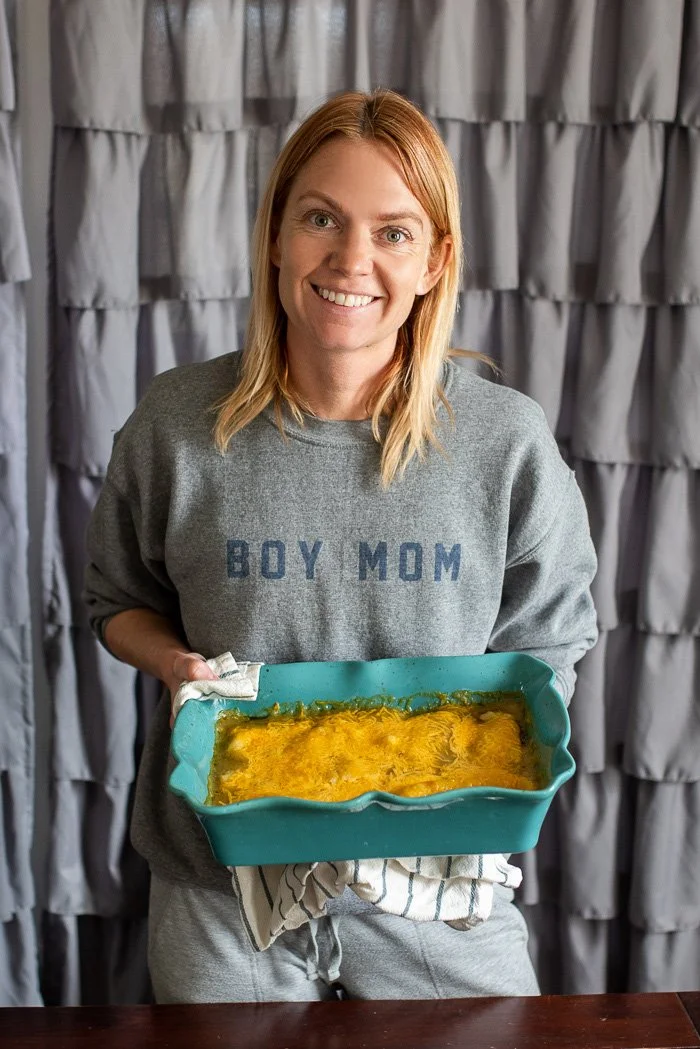
Lots of sauce and cheese. This is a small pan, but I made two pans with just three chicken breasts.
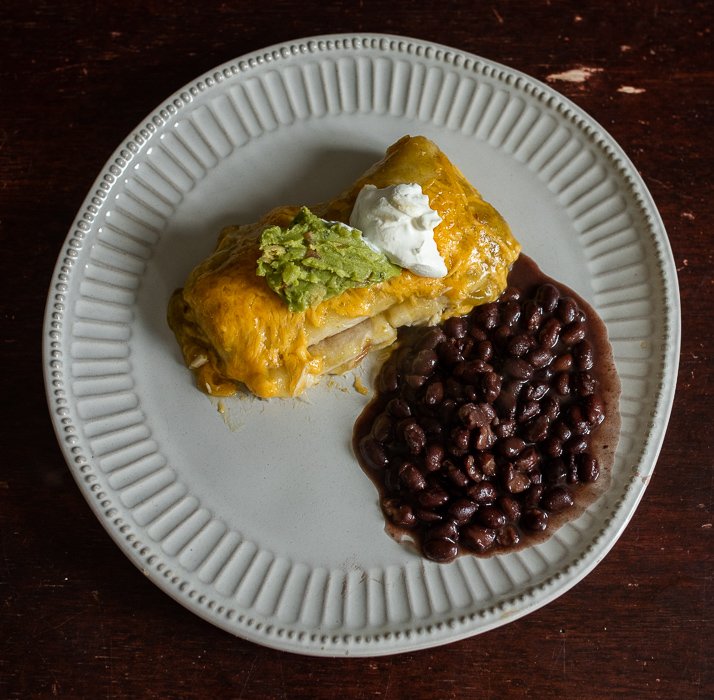
You can serve these with beans, rice, guacamole, sour cream, salsa…the possibilities are endless. Like I previously mentioned, these are a go to for branding as I can make them in advance, but they would also be a great harvest meal, and I never have anyone complain when I say I’m making enchiladas.
I like to add guac and sour cream!
Basically Betty Crocker… Kidding…but these are good.

